")
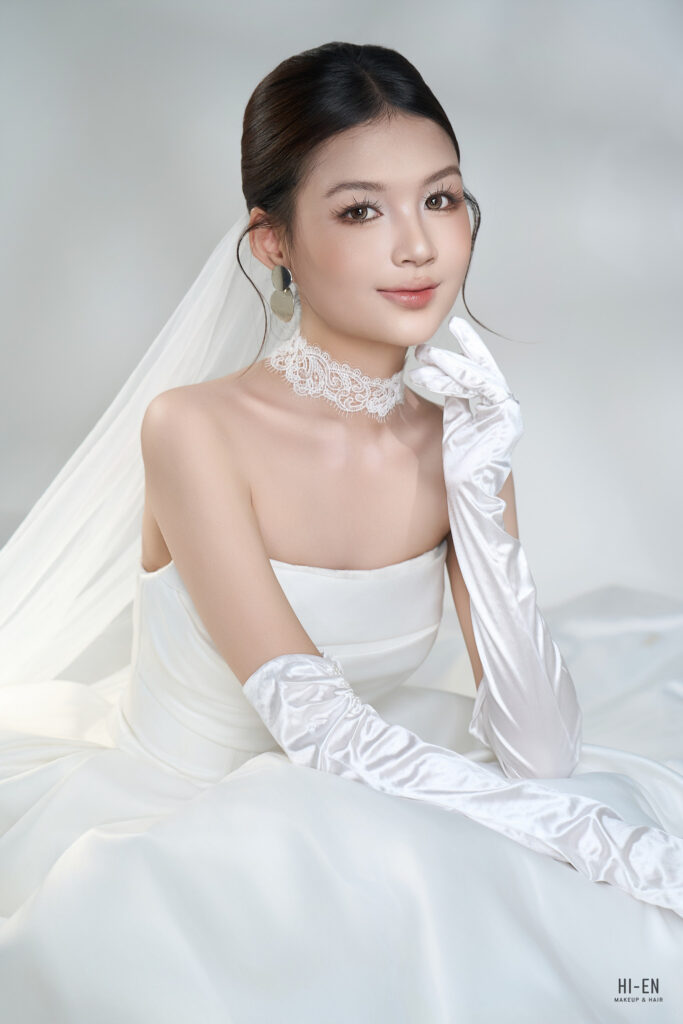
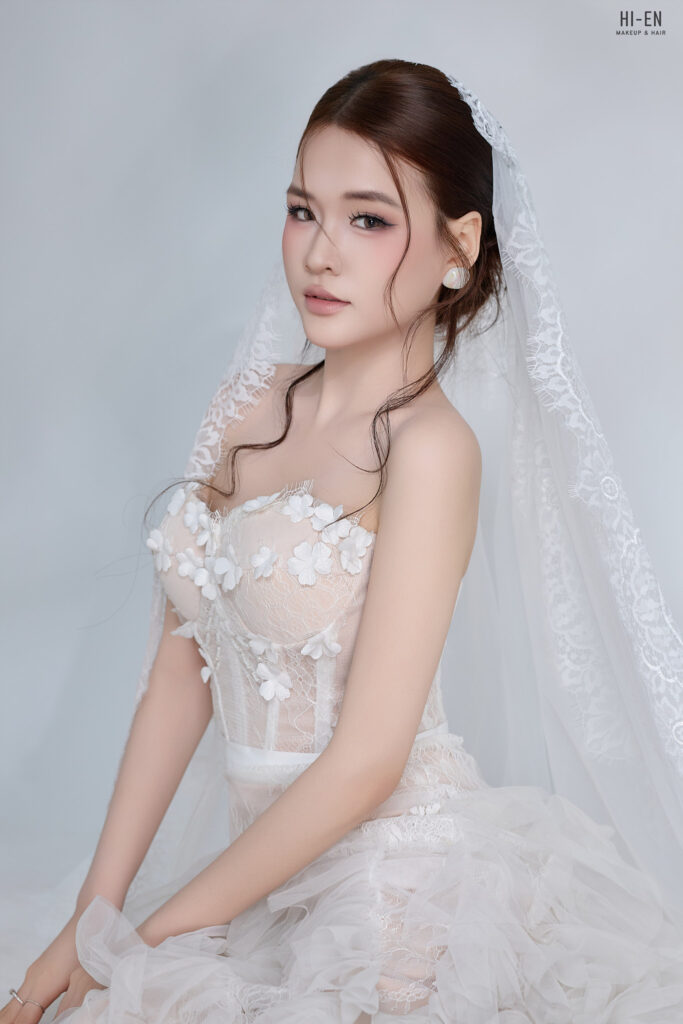
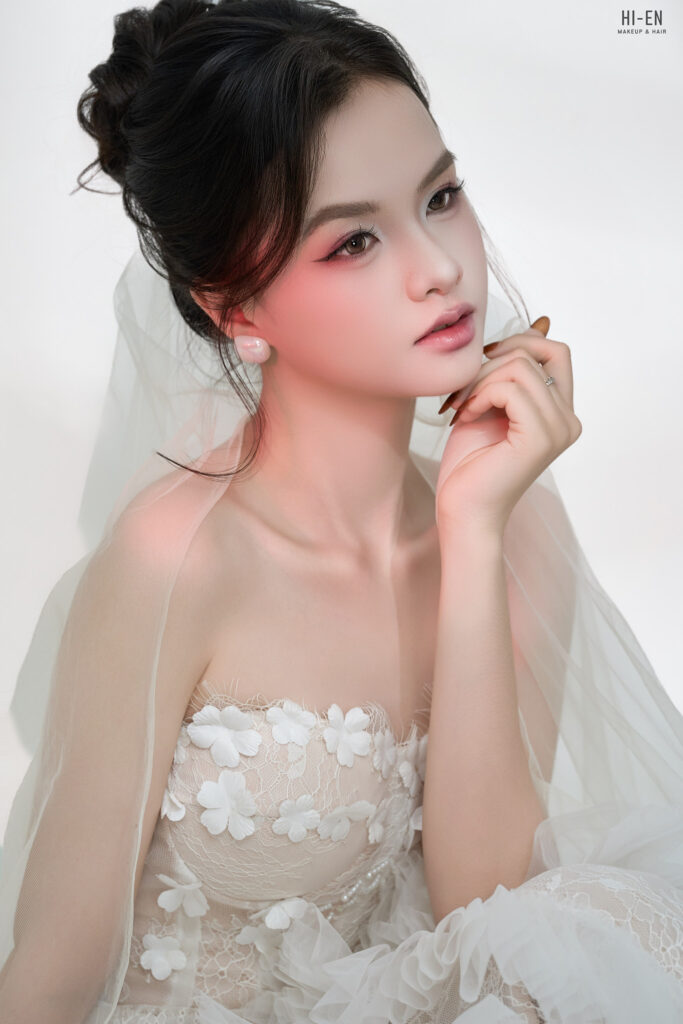
Sở hữu không gian kiến trúc Đông Dương kết hợp hiện đại đẳng cấp, Duyen Ha Resort Cam Ranh là một trong những địa điểm tổ chức tiệc cưới ngoài trời và trong đại sảnh tiệc vô cùng lộng lẫy tại khu vực Bãi Dài. Đối với các buổi đại tiệc cưới tối tại đây, một layout trang điểm kiêu kỳ, cuốn hút sẽ giúp cô dâu hoàn toàn làm chủ sân khấu dưới hệ thống ánh sáng lung linh.
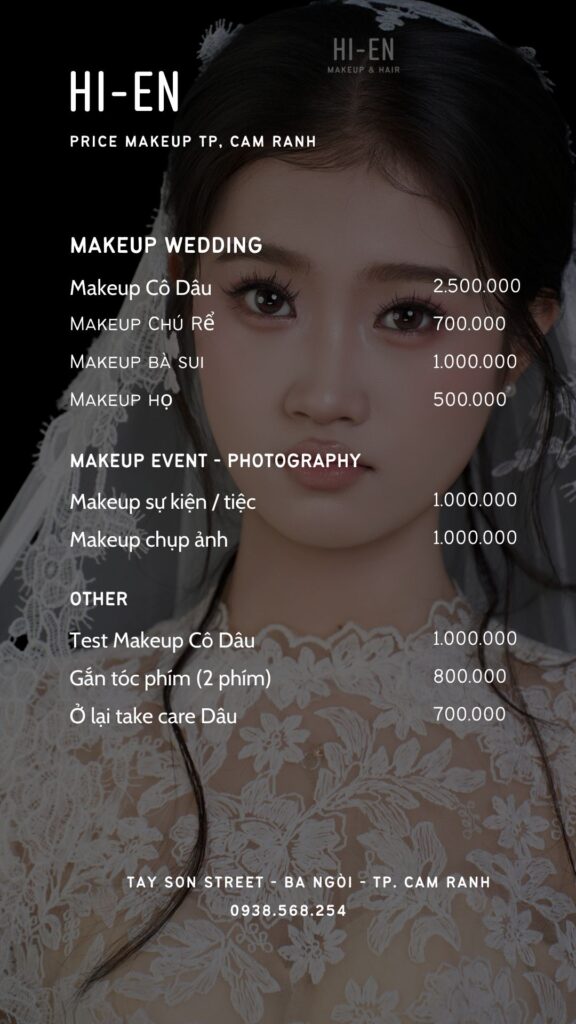
Nếu bạn đang tìm kiếm một dịch vụ makeup cô dâu tone Thái sắc sảo tại Duyen Ha Resort Cam Ranh tận phòng nghỉ villa, Hi-en Makeup Artist chính là người đồng hành hoàn hảo dành cho bạn. Khám phá ngay các bộ ảnh cô dâu thực tế của tụi mình tại website hienmakeup.com!
Mê Mẩn Với Layout Trang Điểm Cô Dâu Tone Thái Sắc Sảo Tại Duyen Ha Resort
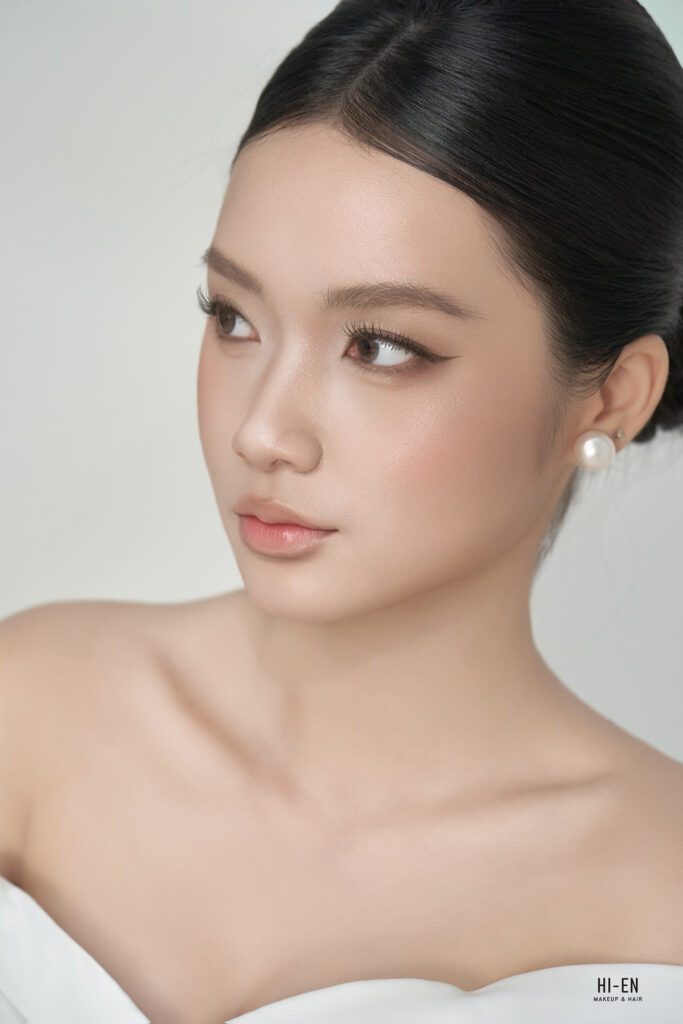
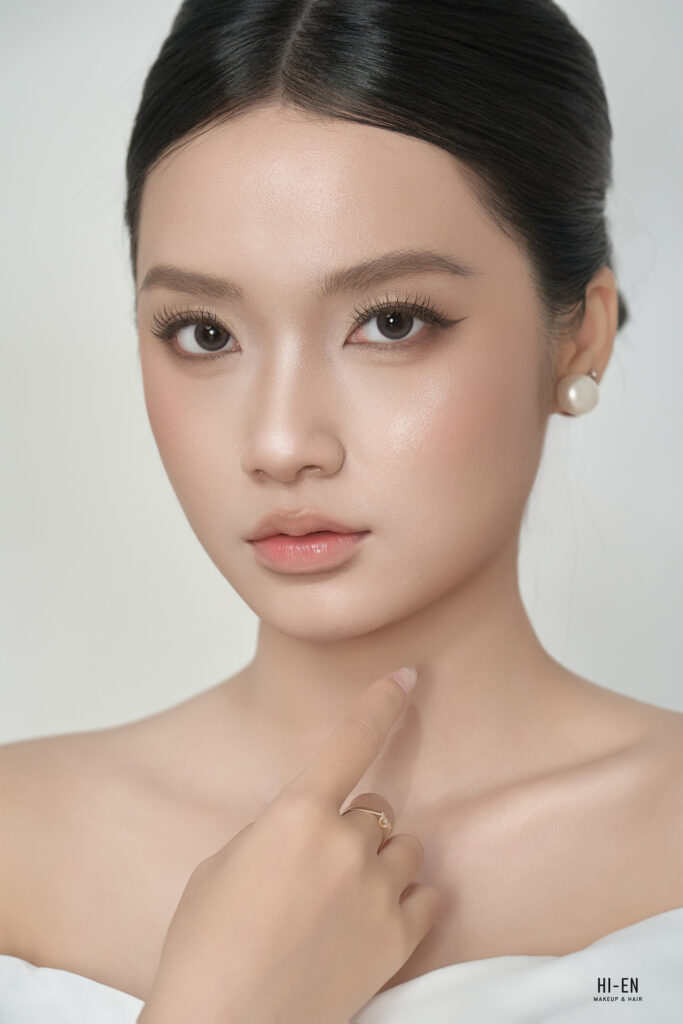
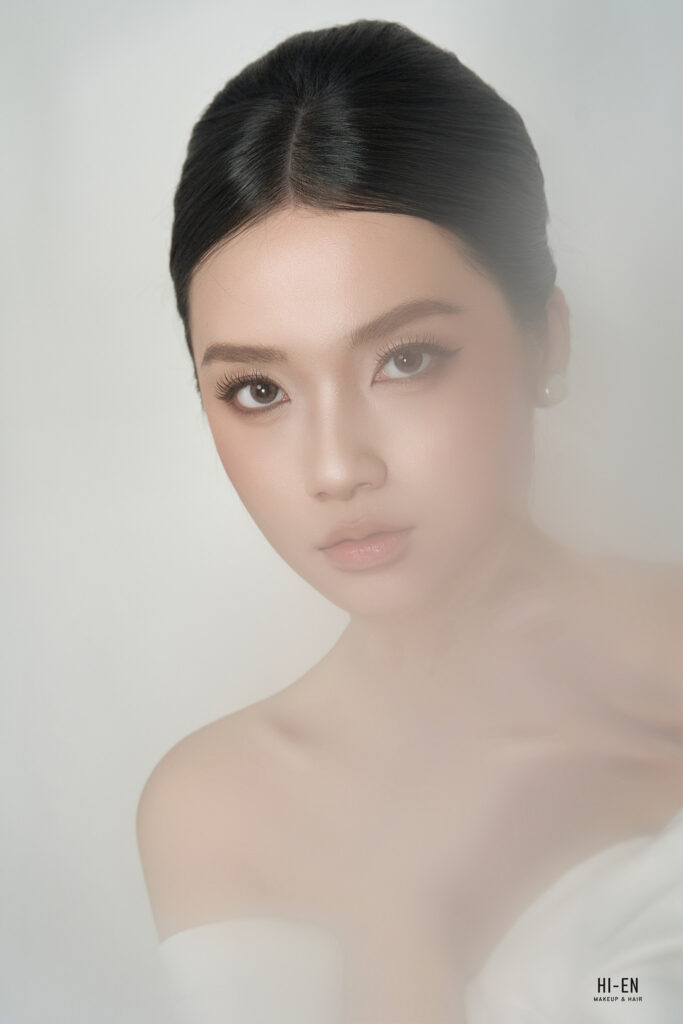
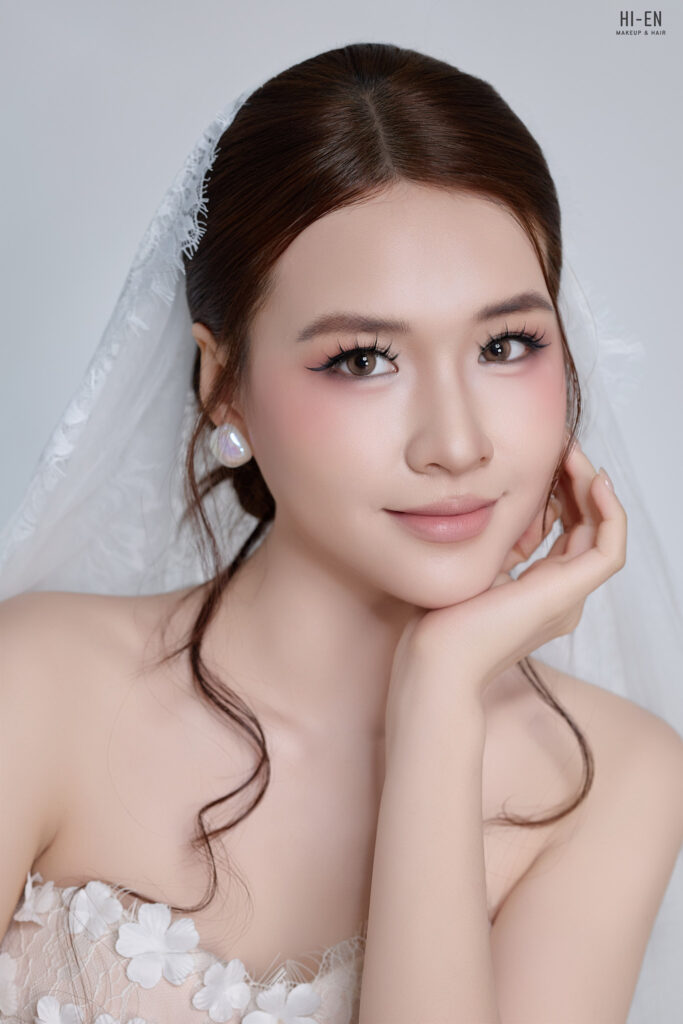
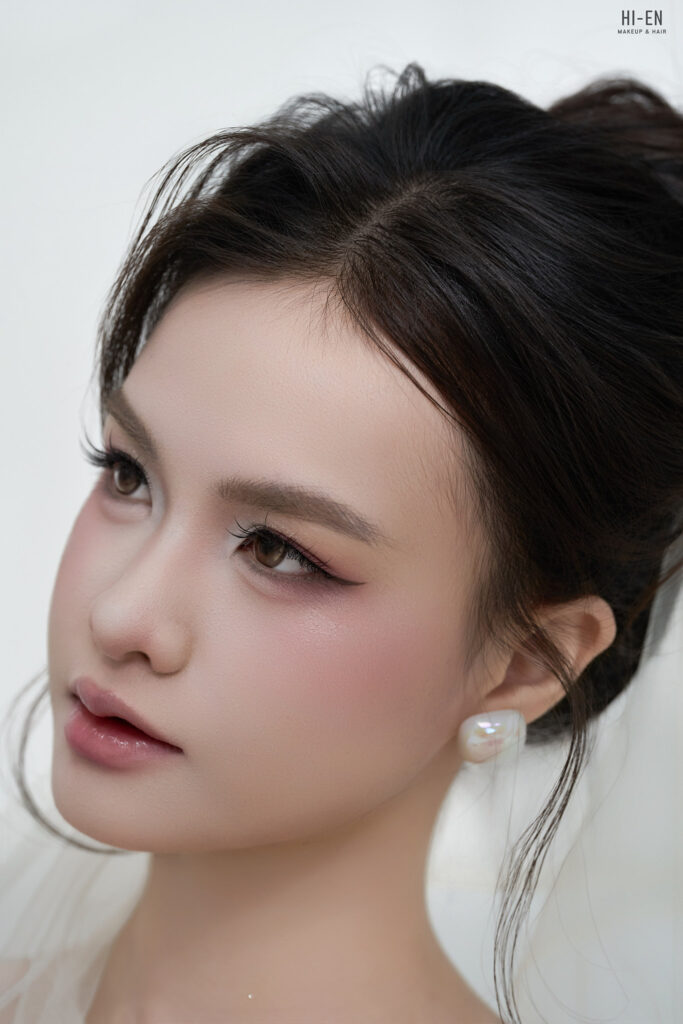
Khác với vẻ trong trẻo nhẹ nhàng của tone Hàn Quốc, makeup cô dâu tone Thái mang đến một diện mạo vô cùng cá tính, quyến rũ và quyền lực. Đây là sự lựa chọn số 1 cho các nàng dâu muốn mình trở thành tâm điểm tuyệt đối trong đêm tiệc cưới tại Duyên Hà Resort:
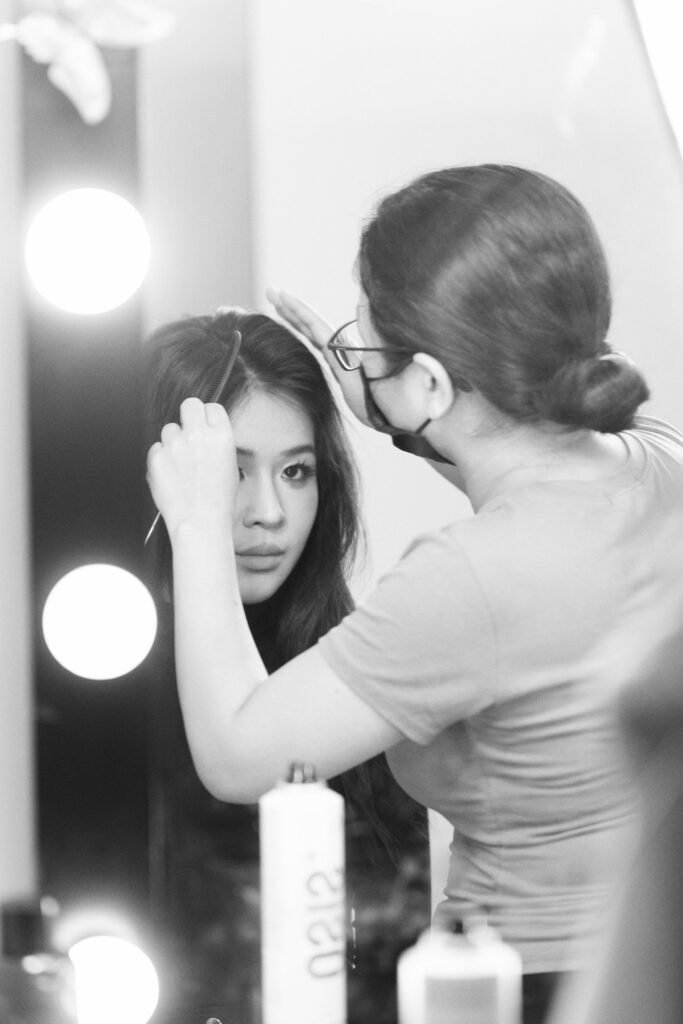
- Đôi mắt biết nói cuốn hút: Điểm đặc trưng của tone Thái là đôi mắt được nhấn sâu, đường eyeliner sắc nét kết hợp cùng hàng mi tơi cong vút và dáng chân mày phẩy sợi tự nhiên, giúp đôi mắt cô dâu trở nên cực kỳ bắt sáng dưới ống kính máy ảnh.
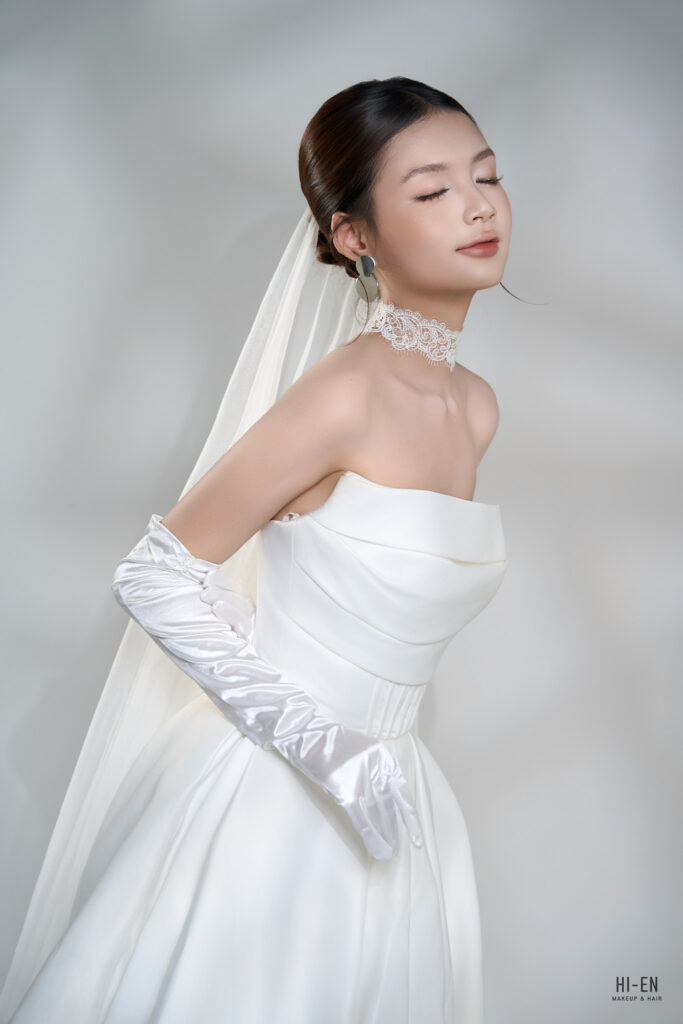
- Lớp nền mịn lì chuẩn sương (Velvet Matte): Kỹ thuật tạo nền tiệp màu da, che khuyết điểm tuyệt đối nhưng vẫn có độ mịn mướt tự nhiên. Lớp nền này có khả năng kiềm dầu vượt trội, giúp cô dâu thoải mái khi di chuyển giữa không gian tiệc ngoài trời và phòng tiệc lạnh mà không lo bị bóng dầu hay chảy nền.
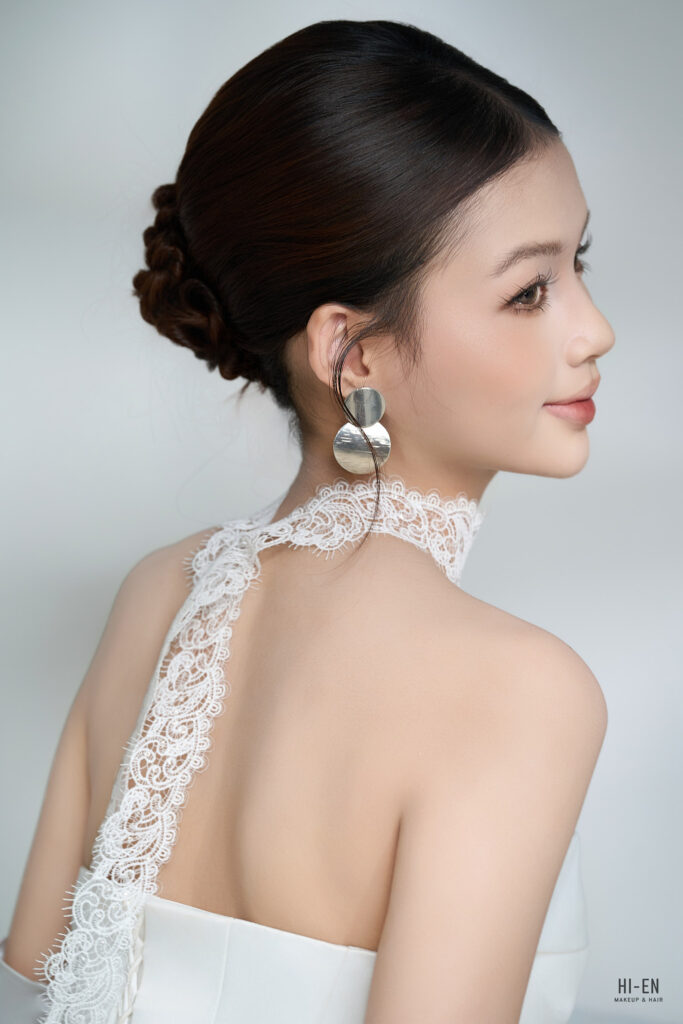
- Tạo khối chuẩn xác & Đôi môi mọng quyến rũ: Kỹ thuật đánh khối chuẩn tỷ lệ vàng tôn lên phần xương gò má và góc mặt thanh tú, kết hợp cùng các tone màu son xu hướng như cam đất, hồng đât, đỏ gạch được viền môi kĩ lưỡng.
Dịch Vụ Makeup Cô Dâu Tận Phòng Tiện Lợi Tại Duyen Ha Resort Cam Ranh
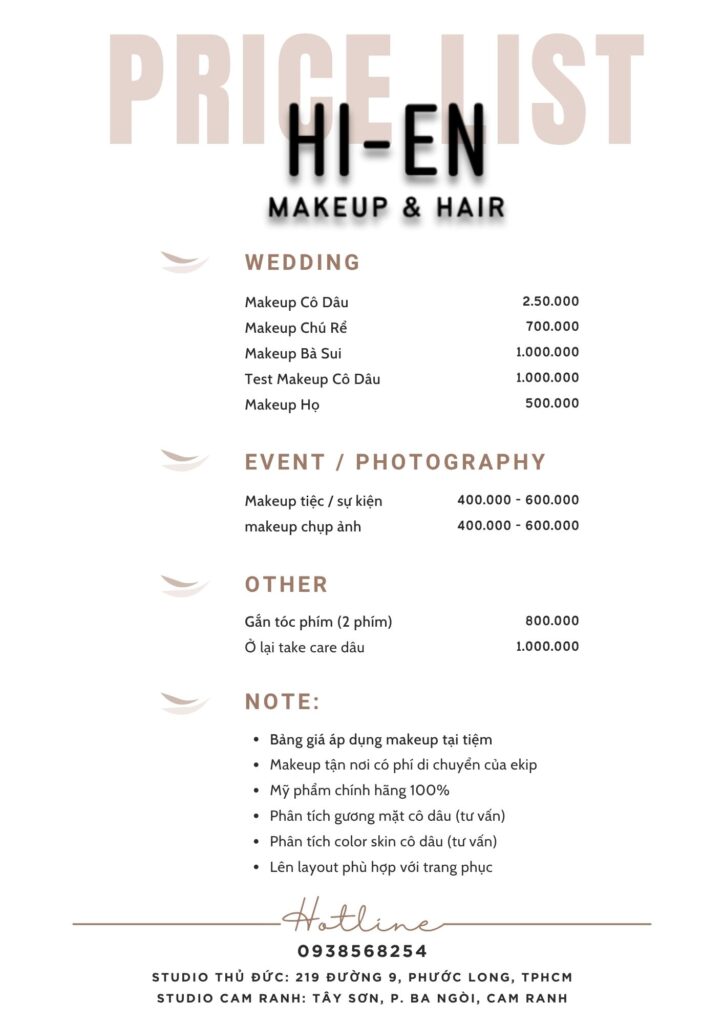
Để cô dâu giữ được tinh thần thoải mái nhất trước giờ G, Hi-en Makeup Artist nhận lịch phục vụ trang điểm tận phòng nghỉ/villa tại Duyen Ha Resort Cam Ranh:
- Ekip sẽ di chuyển đến tận nơi với đầy đủ hệ thống đèn led ánh sáng studio chuyên nghiệp và cốp đồ nghề 100% mỹ phẩm High-end chính hãng (Dior, NARS, MAC, Charlotte Tilbury…).
- Cô dâu không cần tốn thời gian di chuyển ra ngoài resort giữa thời tiết nắng nóng, thoải mái sửa soạn và chụp ảnh kỉ niệm cùng dâu phụ ngay tại phòng riêng.
- Hi-en có nhận làm trọn gói cho chú rể, mẹ cô dâu và dàn dâu phụ (bridesmaids) cùng lúc với chi phí cực kỳ tối ưu.
Đừng để một diện mạo mờ nhạt làm giảm đi sự lộng lẫy của bạn trong đêm tiệc cưới mơ ước. Hãy liên hệ ngay với Hi-en Makeup Artist để sở hữu layout tone Thái sắc sảo chuẩn gu nhất!
")
")
")
")
")


")